Discover the best tulips for your garden in USA East Coast
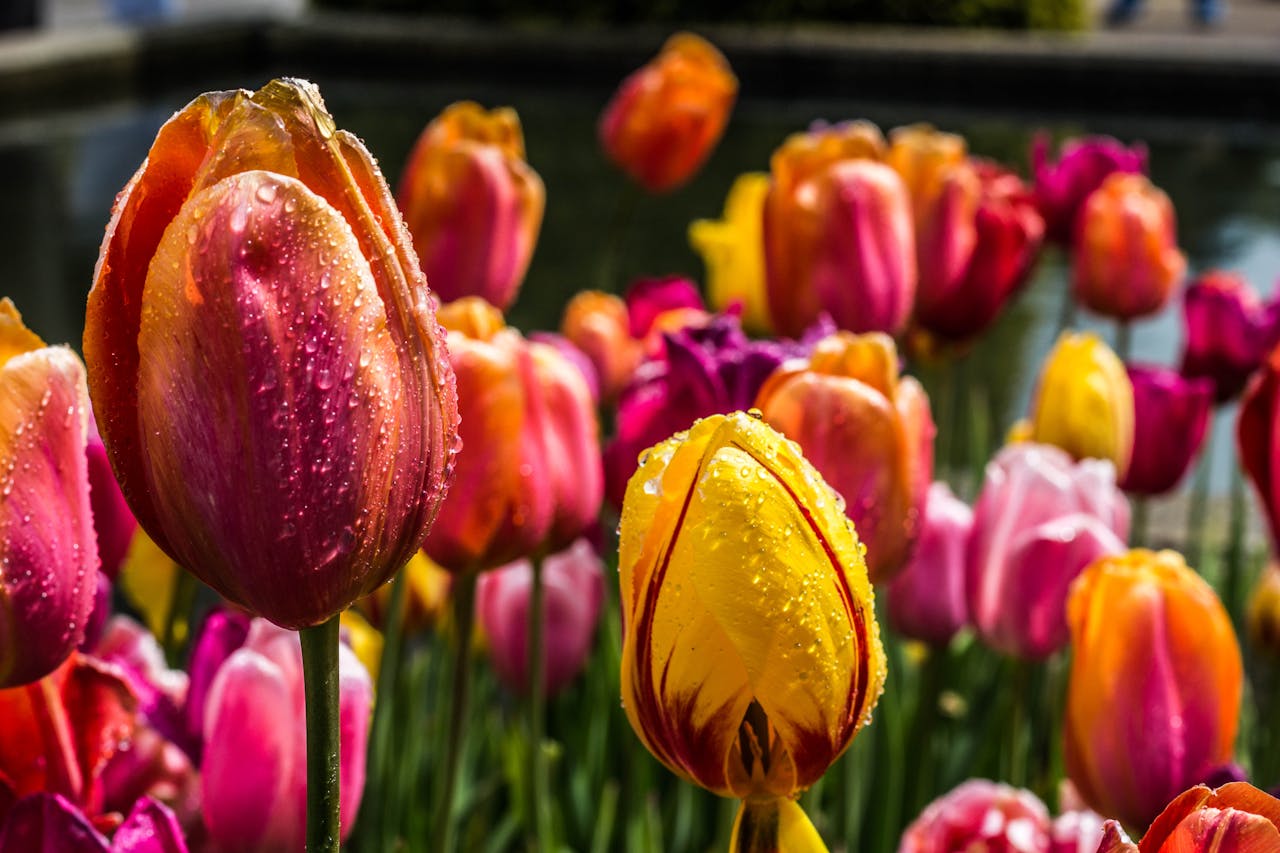
Everyone loves nature, especially with flowers blooming across the whole yard. Driving through certain parts of Delaware, Pennsylvania, and New Jersey, you can see fields of flowers. Amidst the chaos of busy streets in the urban landscape, tulips grace the region with their beauty and charm as a flowery escape in the East coast.
With so much open land in our area, it is easy to spot beautiful early blooms like daffodils and tulips. There are over 50 different varieties of tulips to choose from. Who knew there were so many different colors? Despite it being the most populous in nature, it is challenging to keep it thriving. Let us dive into the botanic world to understand ‘Gather ye rosebuds while ye may.’
Hot or cold?
On average, temperatures in the Northeast vary quite differently. The Northeast can get hot, but its climate is usually cool enough that even the states in its southern portion have average low temperatures below freezing during the winter.
Flooding is expected in the Northeast due to extreme rainfall events, with coastal areas receiving much more rainfall than the rest.
When to plant?
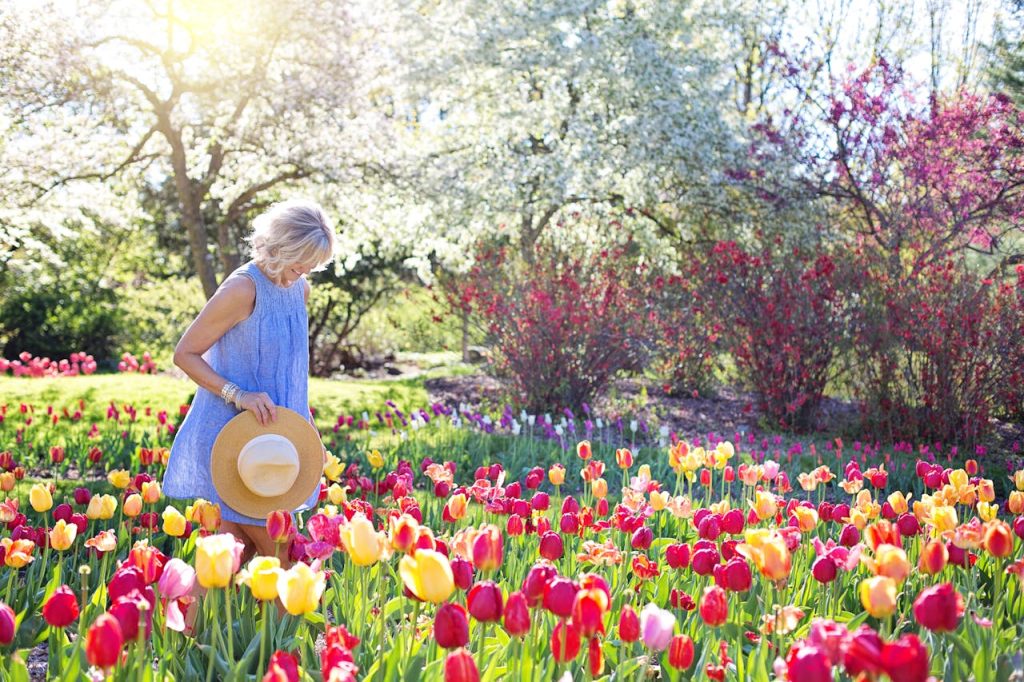
As children, we were taught that planting in warm conditions is recommended for any plant. Similarly, for tulips, you could possibly try planting these bulbs in full sun to help them reach their maximum height and size.
On the Atlantic coast, most summers experience temperatures which can rise to more than 86°F, making it the best time to plant tulip bulbs, although they can even withstand half-day sun as well, mainly during spring. No matter the climate or area you live in, your tulip gardens must experience cold weather to produce spring blooms, referring to the process known as vernalization.
In short, these buds bloom around April-May, so they must be planted in autumn.
Key to successful flowerbeds
1. Cold Period
As important as the seasons and soil temperature are during budding, tulip bulbs need to start their cold period before December 1st in the Eastern USA. It would help if you remembered that tulips could start their chilling period in mid-September, so pre-cool your bulbs you can, which can be done relatively quickly in your kitchen refrigerator and keep the bulbs in the refrigerator until planting. It is essential to take them directly from the fridge to your planting site; don’t let them warm up in the sun!
2. Remember your roots
The soil (4-8 inches deep) isn’t too warm (above 60 degrees during the rooting process). Plant bulbs six to eight inches deep. Regular watering will bring the soil temperature down; the soil should be moist.
The bulbs will rot in wet conditions, so water is often enough to keep the soil moist but never soggy. Don’t store fruit at the same time, either, because fruit (especially apples) releases ethylene gas that will kill the bulb.
How to plant
One of the main reasons that tulips fail to bloom is being planted in an area that is too shady.
- Before planting, add 2-3 inches of high-quality, well-rotted compost (bought from a local nursery, not a home improvement store) to the soil. If your soil is poor, add expanded shale to improve drainage and soil texture.
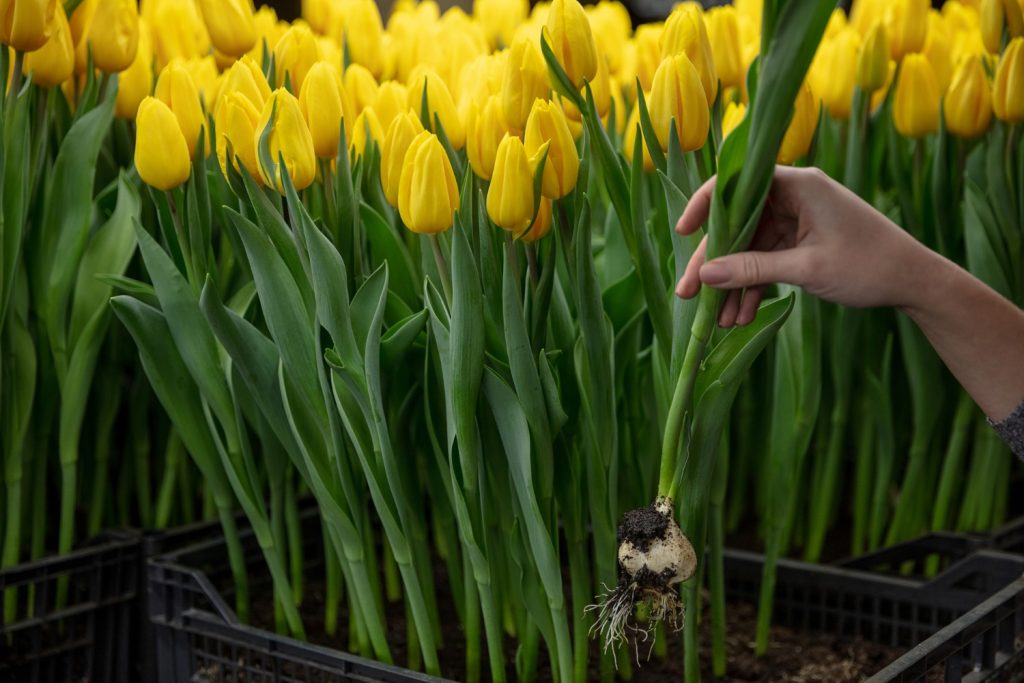
- Plant tulips 2-4 inches apart at a depth three times the bulb’s diameter. For most tulip bulbs, this is about 6 inches deep.
- Plant tulips in large batches, not in rows. Tulips look their best when planted densely and grouped together.
Tips and tricks
Harvest tulips before the flowers have fully opened for the most extended vase life, ideally just as the buds begin to show colour.
If you are a home gardener, leaving at least two sets of leaves on the stem when harvesting to replenish the bulb and give it energy to bloom the following season is essential. However, note that blooms may be of lesser quality in the following years.
With the bulb attached, tulips can be stored dry in the cooler for up to one month, as they are still connected to their food source. Re-use the time, cut off the bulb, and place stems with the proper nutrients in the water.
Tulips tend to curve a bit after harvest, so encourage the stems to grow in water with the top two-thirds of the flower in a paper funnel and stand tall in water for a few hours.
Tulips have a naturally long vase life; many varieties can last up to a week and a half. Adding flower preservatives can also further vase life.
Once fully hydrated, fresh-cut tulip stems continue to elongate for a few days, so if you’re planning to make a bouquet or arrangement, be sure to tuck in the flowers deeper into your design than seems necessary with this in mind.
Once your tulip harvest is complete in the spring, ensure you clear the bed and prep the soil by adding organic fertilizer and a thick layer of compost. Then, you can transplant a new crop into that same bed, typically heat-loving tender annuals. This highly advanced technique enables us to produce two crops in the same bed throughout the growing season.
Highly Recommended Tulip Varieties for USA East Coast
- Don Quichocho
- Escape
- Keizer kroon
- Darwin Orange
- Black Parrot
- Catherina
- Christmas dreams, etc.
Across various yards, these flowers leave no chance but to blossom and provide an explosion of color—a visual treat for your eyes!
Keeping Out Squirrels
The number one complaint many flower farmers, botany practitioners, and readers have is that they lose most of their bulbs to squirrels. The most effective way to help prevent this from happening is:
Most planting teams add a bloody meal to the soil after planting. Although this seems quite gross, it does the job quite well. A blood meal is thought to deter squirrels and birds.
Key takeaway
While these tulips bloom, the whole process must be thought and planned, or you won’t get the thriving results you expected. Considering all the factors above will help you get a fruitful outcome, and that’s what you deserve, a bouquet of orchids! While there’s always something to nip in the bud, don’t be a wallflower and fix everything before the situation worsens.
Leave a Reply